
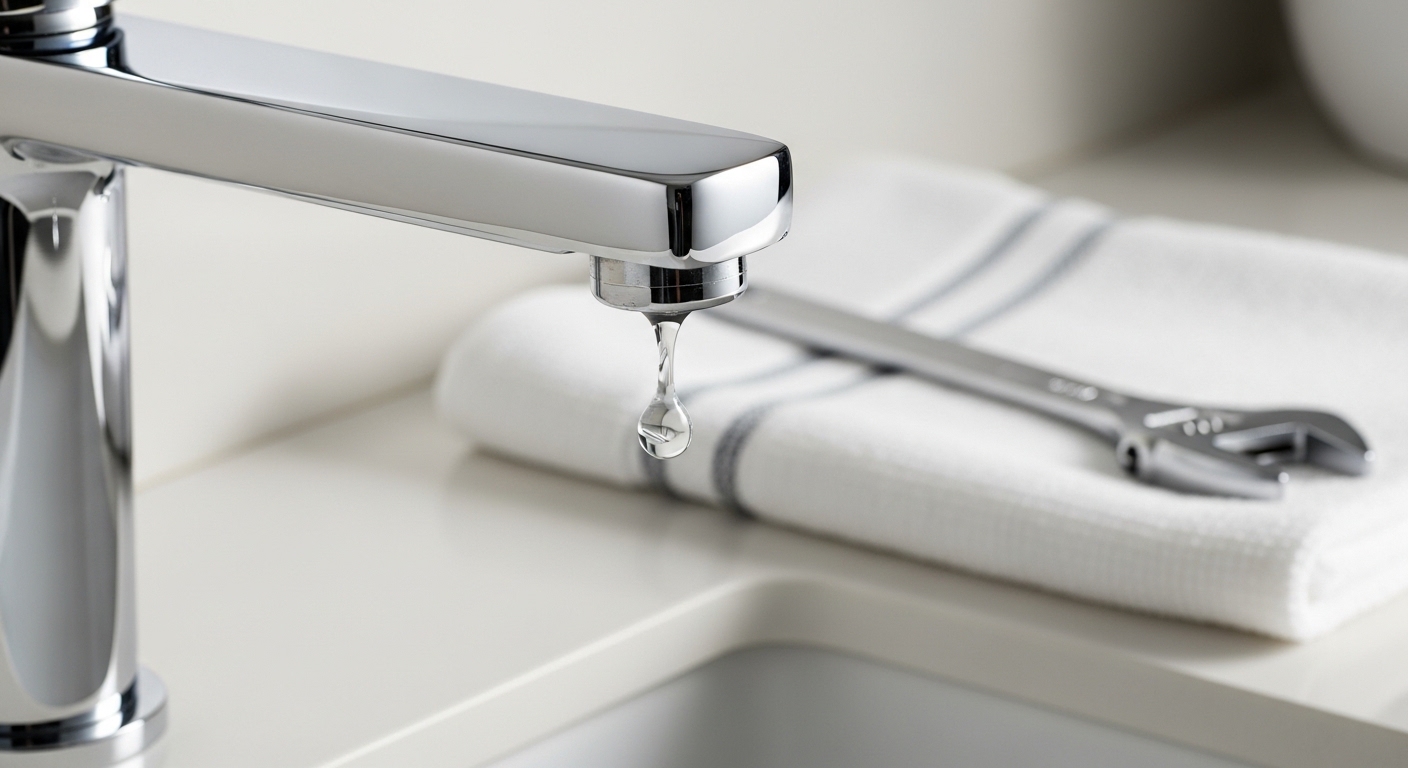
Learning how to fix a leaking tap valve is one of the most satisfying small repairs you can do, because the fix is almost always cheap, the tools are basic, and the cause is usually a single worn part rather than anything dramatic. A dripping tap that loses one drop per second wastes roughly 15 litres a day — about 5,500 litres a year — so this is worth your Saturday morning. Below, we walk through exactly which part fails, how to identify your valve type, and the step-by-step repair, plus when it’s genuinely time to replace the whole tap instead.
This guide is written for both the classic British compression taps with rubber washers and the newer quarter-turn ceramic-disc mixers, because the diagnosis and the fix are different for each. Get the valve type right first and the rest is easy.
What actually causes a tap valve to leak in the first place?
Most tap valve leaks come from one of three worn parts: the rubber washer, the O-ring seal, or the ceramic disc cartridge. Which one it is depends on how the tap turns and where the water is escaping.
Here’s the quick logic. If your tap needs several full turns to shut off and the drip comes out of the spout, you almost certainly have a traditional compression valve with a perished rubber washer. If the tap only turns a quarter or half turn to go from off to full, you have a ceramic disc cartridge, and a spout drip means the cartridge has worn or grit has scored the discs. If water is weeping from around the base of the handle rather than the spout, the culprit is usually a dried-out O-ring or gland packing, not the valve seat at all.
- Drip from the spout, multi-turn tap: perished washer (cheapest fix).
- Drip from the spout, quarter-turn tap: worn or grit-damaged ceramic cartridge.
- Water seeping around the handle when running: failed O-ring or stem seal.
- Leak under the sink, not at the tap: supply connection or tail nut — not a valve problem.
Hard water is the silent killer here. Limescale builds up on the valve seat and on the ceramic discs, so the seal can no longer close cleanly. If you’re in a hard-water area, expect washers and cartridges to wear faster, and consider descaling the parts you reuse.
How do I know if I have a washer tap or a ceramic cartridge tap?
Count the turns. A washer (compression) tap takes two or more full rotations to go from fully off to fully open and feels progressively tighter as you close it. A ceramic-disc tap snaps from off to full in a quarter or half turn and feels smooth the whole way. That single test tells you which repair path to follow before you pick up a spanner.
Age is a good secondary clue. Taps installed in the UK before roughly the mid-1990s are overwhelmingly compression washer types. Modern monobloc mixers, pull-out kitchen taps and most new basin taps use ceramic cartridges. If you’re not sure which brand or vintage you’ve got, the same diagnostic approach we use for a leaky two-handle faucet applies — each handle is its own independent valve, so test and fix them one at a time.
| Feature | Compression (washer) valve | Ceramic disc cartridge |
|---|---|---|
| Turns to shut off | 2+ full turns | ¼ to ½ turn |
| Typical era | Pre-1995 / traditional taps | Modern mixers & monoblocs |
| Failing part | Rubber washer (~£2) | Cartridge (~£8–£20) |
| Repair time | 20–30 min | 30–45 min |
| Tools beyond basics | Maybe a seat grinder | Sometimes a cartridge puller |
| Lifespan after fix | 3–8 years | 8–15 years |
What tools and parts do I need before I start?
You need an adjustable spanner, a flat and a Phillips screwdriver, the replacement washer or cartridge, and ideally a tub of silicone grease and some PTFE tape. That’s the entire shopping list for the vast majority of leaking-tap-valve jobs, and it costs less than a takeaway.
The one thing people skip and regret: take the old part to the shop, or photograph it. Washers come in sizes (½” and ¾” are the common UK ones) and cartridges are maddeningly brand- and model-specific. A cartridge that looks identical can have a different spline count or length and simply won’t seat. If you can read a model number off the tap body or your purchase receipt, buy the OEM cartridge — generic ones fit poorly and tend to leak again within a year.
- Adjustable spanner (and ideally a second one to hold the body)
- Flat-head and cross-head screwdrivers
- Replacement rubber washer or ceramic cartridge (matched to your tap)
- Silicone grease (food-safe / tap grease, never petroleum jelly)
- PTFE thread tape for any reassembled threaded joints
- An old towel and a bowl to catch water and protect the finish
One word on protecting the tap itself: wrap the spanner jaws in a cloth or electrical tape before you grip a visible finish. Chrome, brushed nickel and bronze all scratch under bare steel jaws, and our guide on protecting faucet finishes from scratches covers this in more detail — five seconds of taping saves an ugly gouge you’ll see every day.
How do you fix a leaking tap valve step by step?
The core procedure is the same for both valve types: isolate the water, strip the tap down to the valve, replace the worn part, and reassemble. Here’s the full sequence — follow it in order and don’t skip the draining step.
- Turn off the water. Use the isolation valve on the supply pipe under the sink (a slot you turn 90° with a flat screwdriver). No isolation valve? Shut off your main stopcock.
- Open the tap and drain it. Run the tap until it stops to relieve pressure, then leave it open. Plug the basin so no small screws disappear down the drain.
- Remove the handle. Prise off the hot/cold index cap with a flat screwdriver, undo the screw underneath, and lift the handle off. Some handles need a gentle wiggle.
- Undo the bonnet/headgear nut. Grip the tap body with one spanner and turn the large hex nut with the other. This exposes the valve.
- Replace the worn part. For a washer tap, unscrew the jumper/washer at the bottom of the headgear and fit the new washer. For a cartridge tap, lift or unscrew the old cartridge out and drop the matching new one in, lining up the location lugs.
- Grease and reassemble. Smear a little silicone grease on the O-rings and threads, then rebuild in reverse order. Don’t over-tighten — snug, not gorilla-tight.
- Turn water back on slowly and test. Reopen the isolation valve gently, run the tap, then shut it and watch for drips for a minute or two.
If you replaced a washer and it still drips, the brass valve seat the washer presses against is probably pitted or scaled. You can re-cut it with an inexpensive seat grinder, or fit a “valve reseating” washer with a built-in plastic seat that compensates for a rough surface. For ceramic taps, a persistent drip after a new cartridge usually means debris got trapped on the discs during reassembly — strip it again and flush the line.
Why is my tap still dripping after I replaced the washer?
If a new washer doesn’t stop the drip, the problem has moved to the valve seat — the metal ring the washer seals against — which is worn, pitted, or coated in limescale. The washer is doing its job; it just can’t make a seal against a damaged surface.
You have three options, in order of effort. First, descale: soak the headgear and clean the seat with a limescale remover and an old toothbrush. Second, re-cut the seat with a tap reseating tool (about £15, twists into the body and shaves a fresh flat surface). Third, fit a top-hat or reseating washer that carries its own sealing face. If none of that works and the body is corroded, the tap itself is past economical repair — see the next section.
For ceramic-cartridge taps, the equivalent “I fixed it but it still leaks” trap is usually a mismatched cartridge or one seated slightly proud, so the discs don’t fully close. Double-check the part number against your tap. The same care over valve sizing matters when you’re working on showers too — getting dimensions right is exactly why the correct shower valve rough-in height gets so much attention; valves only seal properly when everything lines up to spec.
When should I just replace the whole tap instead of repairing the valve?
Replace the entire tap when the body is corroded, the spout joint is leaking, the tap is more than 15 years old, or you’ve already replaced the valve once and it’s failed again within a year or two. At that point the repair stops being economical, and a new tap gives you a fresh warranty and modern ceramic valves that last far longer.
A quick cost-versus-hassle reality check:
| Situation | Best move | Rough cost |
|---|---|---|
| Spout drip, sound tap body | Replace washer / cartridge | £2–£20 |
| Pitted valve seat | Reseat + new washer | £15–£25 |
| Handle-base weep | New O-rings / stem seals | £3–£10 |
| Corroded body / multiple failures | Replace whole tap | £40–£200+ |
If you do decide to upgrade, it’s worth choosing a tap with quality ceramic disc valves from a reputable maker — those are the ones that go a decade without a drip. If you’re shopping in Britain, our roundup of the best basin tap brands UK buyers trust is a sensible starting point for picking something you won’t be repairing again next year.
How do I stop the leak coming back?
The best prevention is to never over-tighten the tap, to descale regularly if you’re in a hard-water area, and to grease the valve seals whenever you have the tap apart. Most premature washer and cartridge failures are caused by people cranking the tap shut hard, which crushes and tears the washer faster.
A few habits that genuinely extend valve life:
- Close gently. The tap is off the moment the flow stops — extra force only damages the seal.
- Descale quarterly in hard-water regions; limescale is the number-one enemy of both washers and ceramic discs.
- Fit a water softener or inline filter if your area is severely hard — it protects every valve in the house, not just this tap.
- Keep a spare cartridge for your specific tap model, since they’re the hardest part to source in a hurry.
FAQ
Can I fix a leaking tap valve without turning off the water main?
Usually yes — most modern installations have small isolation (service) valves on the supply pipes directly under the sink. Turn the slotted screw a quarter turn with a flat screwdriver to shut off just that tap. Only if there’s no isolation valve do you need the main stopcock. Always open the tap afterwards to confirm the water is actually off before you undo anything.
How much does it cost to fix a dripping tap yourself versus calling a plumber?
A DIY washer or cartridge fix costs roughly £2–£20 in parts. A plumber will typically charge £80–£150 for the same job once you include a call-out and minimum labour charge. Since the repair takes most people 20–45 minutes with basic tools, doing it yourself is one of the best-value home repairs there is.
What size washer do I need for a UK tap?
The two common UK sizes are ½ inch (for basin and most bathroom taps) and ¾ inch (for bath taps). The safest approach is to remove the old washer and either measure it or take it to the shop to match. A multi-size washer assortment pack costs only a few pounds and saves a second trip.
Why does my tap leak from the handle and not the spout?
A leak around the handle base when the tap is running points to a worn O-ring or gland packing on the valve stem, not the main washer or seat. Strip the tap down, replace the O-rings, smear them with silicone grease and reassemble. It’s an even simpler fix than a spout drip and uses parts costing pennies.
Is a ceramic disc cartridge better than a rubber washer valve?
Yes, for longevity and convenience. Ceramic disc cartridges last 8–15 years, turn on and off in a quarter turn, and rarely drip. Rubber washers are cheaper and easier to source, but wear faster — typically 3–8 years. If you’re replacing a whole tap, choosing one with quality ceramic valves means far fewer repairs down the line.
Can hard water cause my tap valve to keep leaking?
Absolutely. Limescale coats the valve seat and the ceramic discs so they can no longer close cleanly, and it scores the sealing surfaces over time. In hard-water areas, descale the valve parts whenever you service the tap, and consider an inline filter or softener to protect every valve in your home.
About this guide
Author’s note: This repair walkthrough was written by the avovida fixtures team, drawing on hands-on bench testing of both compression and ceramic-disc valves across dozens of tap models. We’ve stripped, reseated and re-cartridged enough taps to know exactly where DIYers get stuck.
About avovida: avovida (avovida.net) specialises in faucets, shower heads and bathroom fixtures, with a focus on practical, jargon-free buying and repair advice. We test fittings against everyday wear, hard-water exposure and real installation conditions rather than lab-perfect ones.
A note on standards and warranty: Quality tap cartridges are typically rated to tens of thousands of open/close cycles and built to recognised flow and durability standards (such as WRAS approval in the UK and EN 200/817 for taps and mixers). Whenever you replace a valve, check whether your tap is still under manufacturer warranty first — opening some sealed cartridges or using non-OEM parts can void coverage, so it’s worth a quick look before you reach for the spanner.