
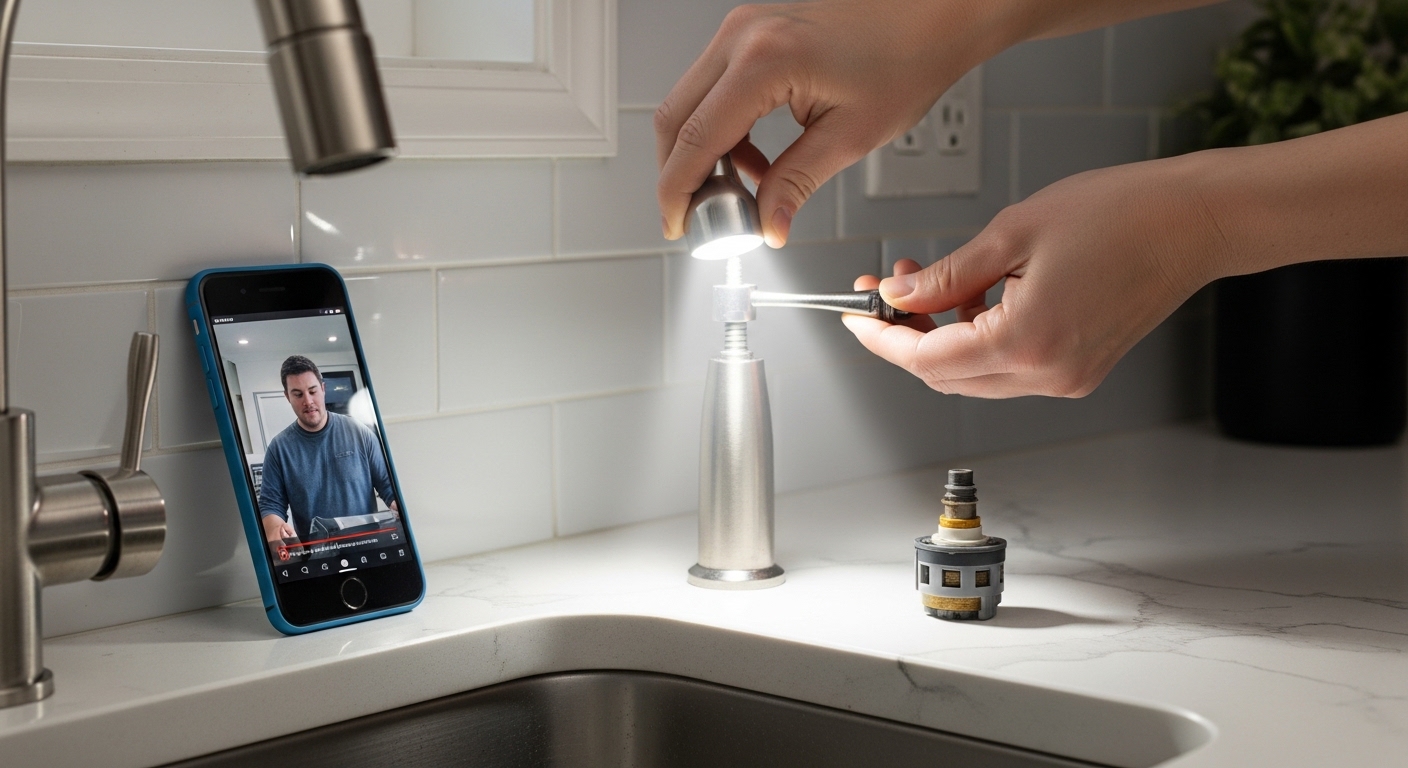
Searching “leaky faucet youtube” at 11 p.m. with a bowl under your sink is one of the most relatable home moments there is. The good news: a leaky faucet is genuinely one of the most DIY-friendly repairs in your whole house, and the right video really can walk you through it. The catch is that YouTube shows you a faucet — not your faucet — and the four main faucet designs come apart in completely different ways. This guide, from the fixtures team at avovida, tells you exactly what to figure out before you watch, how to search for the video that actually matches your faucet, and where DIY videos quietly lead people astray.
We repair, test, and warranty faucets for a living, so think of this as the context a good video skips: the 90 seconds of diagnosis that decides whether your repair takes 20 minutes or three trips to the hardware store.
Which type of faucet do I have, and why does it change the whole repair?
Before any video helps you, identify your faucet type — because a compression faucet, a ball faucet, a cartridge faucet, and a ceramic-disc faucet each fail differently and take different parts. Guess wrong and you’ll buy the wrong repair kit, which is the single most common reason a “quick” YouTube fix stalls out.
Here’s the fast way to tell them apart without any disassembly:
- Two separate handles (hot and cold) that you have to twist harder and harder to shut off? That’s almost always a compression faucet — the oldest design, and it drips because of a cheap rubber seat washer.
- One single handle that moves in a smooth dome or ball motion, common on older kitchen sinks? That’s a ball faucet — lots of small internal parts, so buy the full kit.
- One handle that lifts up and tilts, feeling clean and modern? Usually a cartridge faucet — you replace one sealed cartridge and you’re done.
- One handle that glides side to side with almost no resistance and feels premium? That’s a ceramic-disc faucet — very reliable, and a drip usually means new inlet seals, not a whole cartridge.
Two-handle bathroom faucets can be either compression or cartridge, which trips people up. If the handle twists multiple full turns, it’s compression; if it stops after a quarter-to-half turn, it’s a cartridge. Nail this down first and every “leaky faucet YouTube” result suddenly makes sense.
How do I know if it’s the cartridge, a washer, or an O-ring?
Match the location of the leak to the part. Where the water shows up tells you which piece failed, and this is the diagnostic step most videos rush past.
- Drips from the spout when everything is off → worn seat washer (compression) or worn cartridge/disc seals (single-handle). This is 70% of all faucet leaks.
- Leaks around the base of the spout when you run the water → the spout O-rings, not the cartridge. This is a different fix, and we cover it in depth in our guide on why a kitchen faucet leaks at the base and how to fix it.
- Leaks from under the handle → the packing nut, O-ring, or cartridge seal right at the handle stem.
- Weak, sputtering stream that looks like a leak but isn’t → that’s usually a clogged aerator, a five-minute unscrew-and-rinse job.
What tools and parts do I need before I even press play?
Gather these before you start, because the fastest way to ruin a Saturday repair is discovering mid-video that you’re missing an Allen key or the right cartridge. A basic faucet repair needs maybe six items, and most are already in your junk drawer.
| Item | What it’s for | Rough cost |
|---|---|---|
| Adjustable wrench + slip-joint pliers | Loosening the packing/retaining nut without stripping it | $15–25 |
| Phillips + flathead screwdriver | Removing handle screws (often hidden under a decorative cap) | $8–15 |
| Hex/Allen key set | Most modern single-handle set screws | $6–12 |
| Faucet repair kit or replacement cartridge | The actual worn part — match your brand/model | $5–35 |
| Plumber’s grease + white vinegar | Lubricating O-rings; dissolving mineral crust | $6–10 |
| Cartridge puller (some brands) | Removing a cartridge fused in place by hard water | $10–18 |
The two non-negotiable first moves, no matter what any video says: shut off the supply valves under the sink (turn clockwise until they stop), then plug the drain with a rag so a dropped set screw doesn’t vanish forever. Open the faucet afterward to release pressure. If the under-sink shutoffs are seized or you don’t have them, close the main water supply to the house instead.
How do I find the right cartridge or repair kit for my specific faucet?
Find the brand and model, then buy the kit made for it — universal kits are a gamble on single-handle faucets. Look for the brand name stamped on the faucet body, the base, or the handle. Moen, Delta, Kohler, Pfister, and Grohe all publish model-specific cartridge numbers, and many will ship you the part free under a lifetime limited warranty if you call them with the model — a detail most YouTube videos never mention because it’s not as flashy as a “$3 fix.”
If you can’t find a model number, pull the old cartridge or washer and bring it to the store to match it physically. For chrome fixtures especially, it helps to know the vocabulary of the internal components before you’re elbow-deep — our breakdown of the essential chrome faucet parts makes the stem, bonnet, seat, and cartridge easy to tell apart when you’re staring at a pile of them on the counter.
What’s the actual step-by-step to fix a dripping single-handle faucet?
For the most common modern faucet — a single-handle cartridge type — the repair is six steps and about 30 minutes. Here’s the sequence a reliable YouTube tutorial should follow, so you can spot a bad video that skips a step:
- Shut off the water at the under-sink valves and open the faucet to drain pressure.
- Remove the handle. Pop off the decorative cap, then loosen the set screw with a hex key. Lift the handle straight up.
- Remove the retaining clip and nut. There’s usually a small horseshoe-shaped metal clip holding the cartridge — pull it out with needle-nose pliers and don’t lose it.
- Pull the cartridge straight out. Note its orientation (mark it with a marker) so the new one goes in the same way — installing it rotated 180° reverses your hot and cold.
- Install the new cartridge, matching orientation, and lightly grease the new O-rings with plumber’s grease.
- Reassemble and test with the water back on. Run it a full minute and check for drips before you celebrate.
For a two-handle compression faucet, the flow is similar but you’re replacing a small rubber seat washer held by a brass screw at the bottom of the stem — and while you’re in there, check the valve seat for pitting. A rough seat will chew through a brand-new washer in weeks, which is why so many people “fix” a compression drip and it comes right back. That’s the exact failure most beginner videos never diagnose.
Is YouTube actually reliable for this, or should I just call a plumber?
For a standard drip, YouTube is genuinely reliable and a plumber is overkill — expect to pay a plumber $125–$350 for a repair you can do for under $35 in parts. But there’s a real line where DIY stops being the smart move. Here’s an honest comparison:
| Situation | DIY with a YouTube video? | Why |
|---|---|---|
| Spout drips, standard cartridge/washer faucet | ✅ Great DIY job | Cheap parts, low risk, 20–40 min |
| Leak at the base of the spout | ✅ DIY, slightly harder | O-ring swap; needs the spout lifted off |
| Corroded shutoff valves won’t close | ⚠️ Borderline | You’ll need to kill the main; valves may need replacing |
| Leak inside the wall or from supply lines | ❌ Call a pro | Water damage and mold risk outweigh savings |
| Faucet is 15+ years old and pitted | ❌ Usually replace | Parts may be discontinued; a new faucet is cheaper long-term |
The biggest weakness of learning from video is survivorship bias — the tutorial shows a faucet that comes apart cleanly. In a real hard-water home, cartridges seize, set screws strip, and chrome nuts round off. A good video plans for that (“if it’s stuck, here’s the puller”); a bad one just makes you feel like you did it wrong. If your fixture fights you, stop before you crack the faucet body — that’s the point where the free fix turns expensive.
Why does my faucet keep dripping even after I replaced the cartridge?
If a fresh cartridge still drips, the culprit is almost always the valve seat or debris, not the cartridge. Three things to check: (1) a pitted or scaled valve seat that needs resurfacing or a new seat; (2) grit from your pipes lodged under the new seal — flush the line by running water with the cartridge out; or (3) a cartridge that’s slightly the wrong model, common with third-party “universal” parts. Reseat, re-flush, and confirm the exact model number before assuming the new part is defective.
My “leak” is really just weak, spitting water — is that the same fix?
No — sputtering or a weak stream is usually a clogged aerator or a pressure issue, not a valve leak. Unscrew the aerator from the spout tip, rinse the mineral debris out of the little screens, and soak it in white vinegar for an hour if it’s crusted. If you’re not sure the replacement will fit, our guide to standard US faucet aerator sizes shows you how to measure the threads so you buy the right one the first time. Weak shower pressure is a different animal entirely, and we troubleshoot that separately in our post on why a shower head suddenly loses pressure.
How much does a leaky faucet actually cost me if I ignore it?
A single slow drip wastes far more than it looks — a faucet dripping once per second wastes roughly 3,000 gallons a year, enough for over 180 showers, per EPA WaterSense figures. That’s real money on your water bill plus the mineral staining and corrosion a constant drip leaves in the sink. Financially, the math is lopsided: a $5–$35 repair kit versus years of wasted water and a stained basin. This is exactly why “leaky faucet YouTube” is such a high-value search — the fix is cheap, the video is free, and the payback is immediate.
There’s also a hardware-quality angle worth naming. Bargain-bin faucets with plastic cartridges and thin O-rings are the ones that drip again six months after you repair them. A faucet built to real standards — solid brass body, ceramic-disc cartridge tested to ASME A112.18.1 / NSF 61 and rated for 500,000+ open-close cycles — is the difference between a one-time fix and an annual ritual. When a repair keeps failing, sometimes the honest answer isn’t a better video; it’s a better faucet.
FAQ
Can I fix a leaky faucet without turning off the water?
No — always shut off the supply first. Even a “quick” cartridge swap will spray you and flood the cabinet the moment you loosen the retaining nut, because the supply lines are still pressurized. Close the two valves under the sink (clockwise), or the main shutoff if those valves are stuck, then open the faucet to bleed off pressure before you touch anything.
How long does a typical leaky faucet repair take for a beginner?
Plan on 30–60 minutes for your first one. The repair itself is 20–30 minutes; the rest is figuring out your faucet type, finding the right part, and dealing with any stuck or corroded pieces. Once you’ve done it once, the same repair takes most people under 20 minutes.
What’s the best search phrase to find a video that matches my exact faucet?
Search by brand, model, and handle count — for example, “Moen single handle kitchen faucet cartridge replacement” or “Delta two handle bathroom faucet stem repair.” Generic “how to fix a leaky faucet” videos are fine for the concept, but a brand-specific one shows the exact clip, cap, and cartridge you’re about to meet, which cuts your mistakes dramatically.
Do I need plumber’s grease, or can I skip it?
Don’t skip it. A thin coat of silicone plumber’s grease on the new O-rings and cartridge lets the handle move smoothly and, more importantly, protects the rubber seals from tearing on install and drying out early. It costs a few dollars and it’s the difference between a repair that lasts years and one that starts weeping in a few months. Never use petroleum jelly — it degrades rubber seals.
My faucet is over 15 years old — should I repair it or replace it?
If it’s badly pitted, the parts are discontinued, or you’ve already repaired it once and it’s dripping again, replace it. A mid-range faucet costs $80–$200, comes with fresh seals and often a lifetime warranty, and ends the cycle of chasing parts for an obsolete model. For a newer, quality faucet, repair is almost always the smarter call.
About the author: This guide was written and reviewed by the fixtures team at avovida, where we source, install, and warranty faucets and bathroom fixtures every day. Our advice is based on hands-on repairs across compression, ball, cartridge, and ceramic-disc faucets, cross-checked against manufacturer service specs and EPA WaterSense data. Every faucet we sell is chosen to meet ASME/NSF standards and backed by a manufacturer warranty, because the best repair is the one you only have to do once. When in doubt about a leak inside a wall or a seized valve, call a licensed plumber — we’ll always tell you when a job crosses that line.